Blog
120-Inch Projector Screens: Unlock the Ultimate Home Cinema Experience
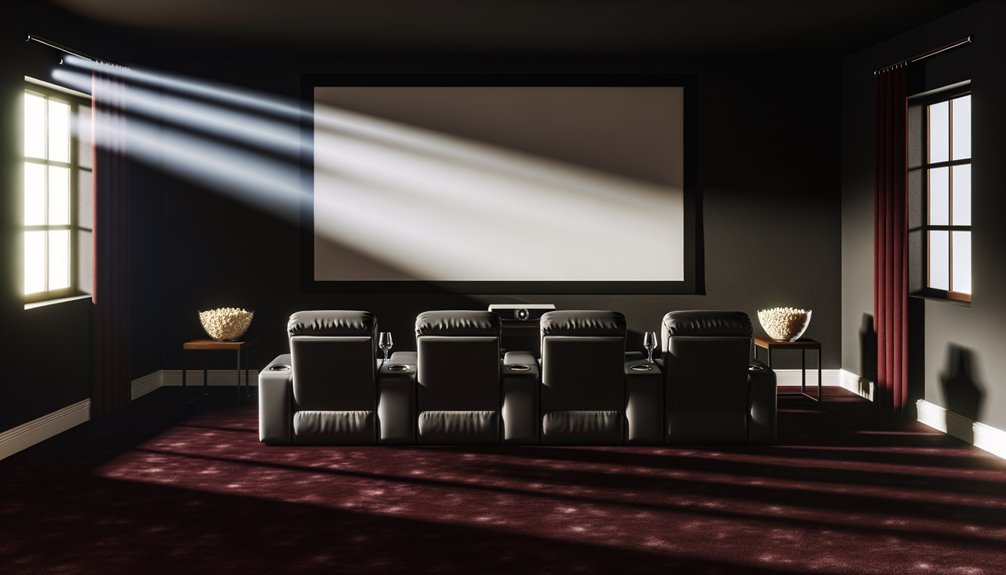
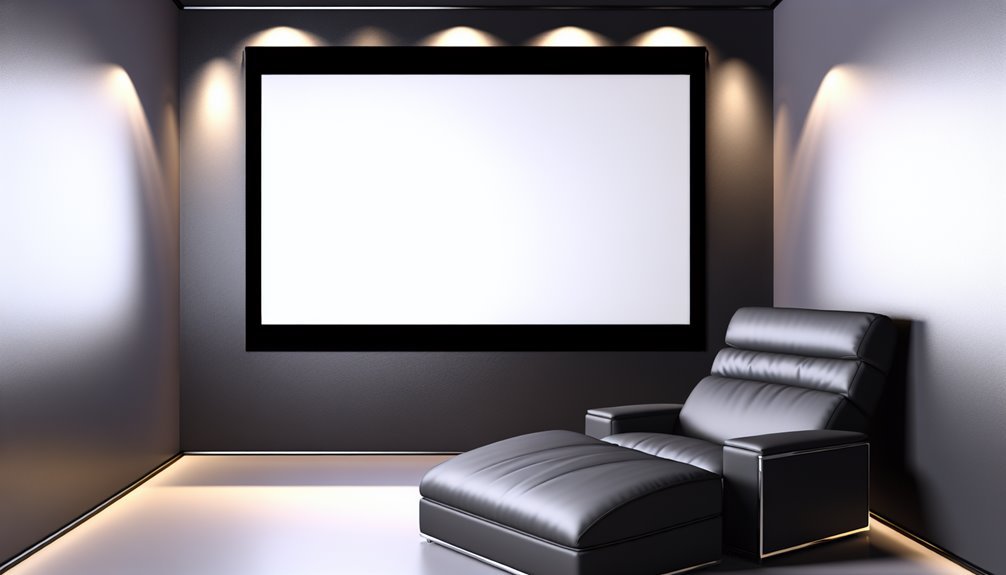
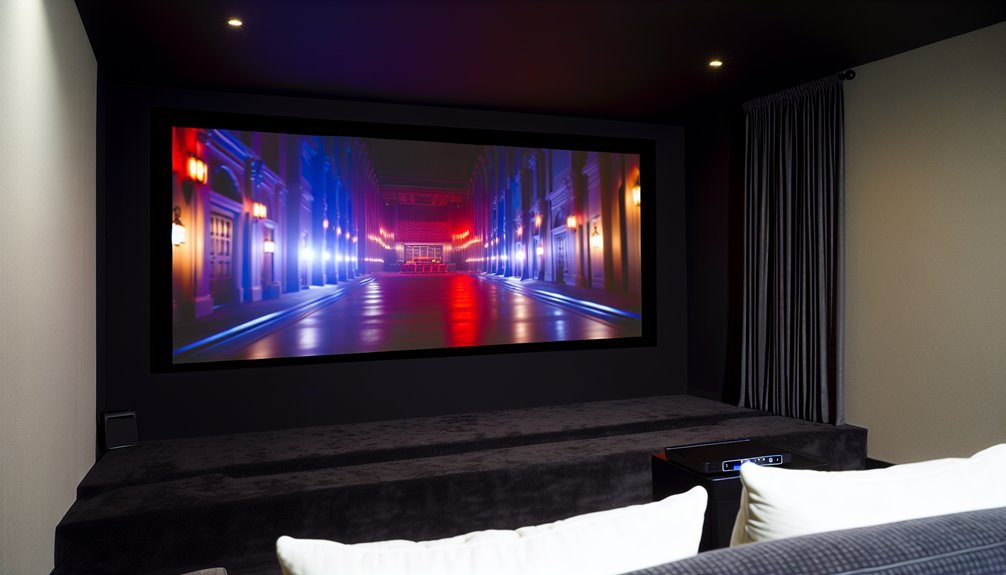
A 120-inch projector screen will revolutionize your home theater, creating an immersive cinema experience that dwarfs traditional TVs with five times more viewing area. You'll transform any room into a premium entertainment space, especially when you pair it with the right screen material and proper installation. ALR technology can reject up to 95% of ambient light, ensuring vibrant images even in bright rooms, while black velvet frames boost contrast for theater-quality viewing. Following THX guidelines, you'll want to position seating about 12 feet from the screen for ideal comfort. The journey to your perfect home cinema setup has only just begun.
Key Takeaways
- A 120-inch projector screen creates theater-like immersion with optimal viewing distance at 12 feet following THX guidelines for maximum comfort.
- Fixed frame screens with black velvet borders enhance contrast and reduce light bleed, delivering premium performance for home cinema setups.
- ALR screen technology rejects up to 95% of ambient light, ensuring vivid images and deep blacks even in well-lit rooms.
- Professional installation requires 24-36 inches of floor clearance and proper wall mounting for the best viewing angles and comfort.
- High-quality 120-inch screens range from $1,800 to $3,600, with fixed frame options offering better value for dedicated home theaters.
The Magic of Large Screens
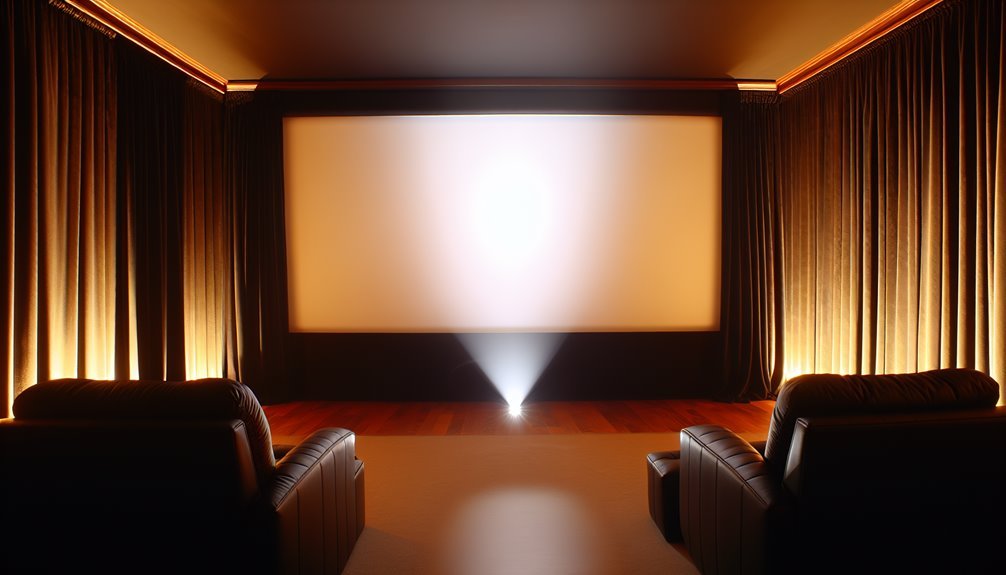
In the world of home cinema, large projector screens transform ordinary rooms into enthralling entertainment spaces. You'll experience movies, sports, and games with an intensity that smaller displays simply can't match. When you're watching content on a massive screen, you're not just viewing – you're stepping into another world, feeling the depth and realism of every scene.
Break free from the limitations of traditional TVs and embrace the cinematic scale you deserve. Your favorite films will come alive with theater-like immersion, while sporting events will make you feel like you're in the front row. The sheer size of a projector screen creates a visual impact that'll revolutionize your home entertainment. The black velvet frame enhances the viewing experience by boosting color contrast and reducing light bleed around the edges.
You're not locked into one configuration, either. Today's screens offer incredible versatility, adapting to your space and needs. Whether you choose a fixed frame for dedicated home theaters or a retractable screen for multipurpose rooms, you'll have options.
With advanced screen materials that enhance brightness and contrast, you can achieve stunning picture quality that rivals commercial cinemas, even in well-lit rooms.
Types of Projector Screens Available

Now that you understand the impact of large-format viewing, let's explore your screen options.
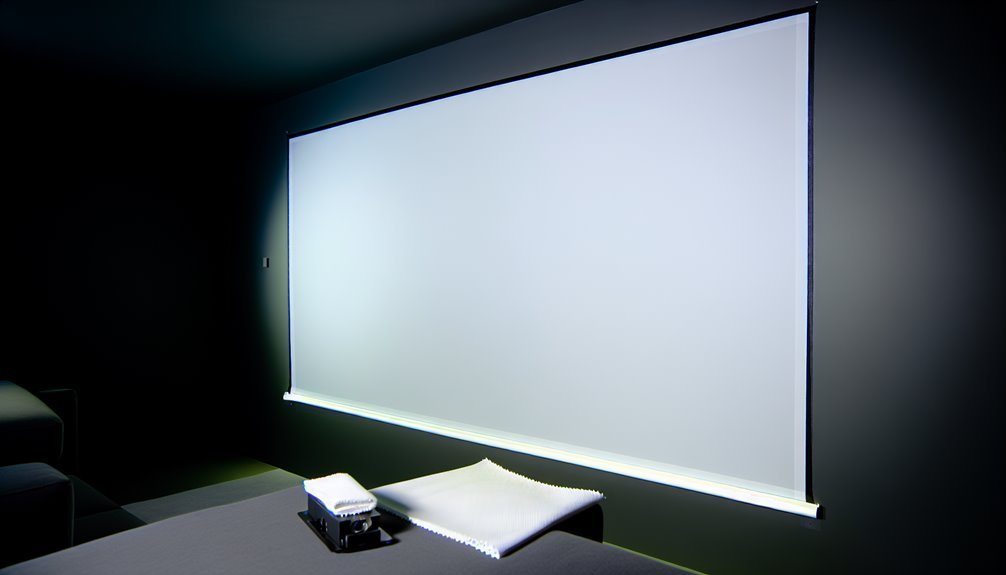
You'll find four distinct construction types that can transform your space: fixed frame, retractable, tripod, and floor rising screens. Fixed frame screens deliver premium performance with their tensioned surface and contrast-enhancing velour frames, making them perfect for dedicated theaters.
If you need flexibility, retractable screens disappear when not in use, offering both motorized and manual options for multi-purpose rooms. Popular manufacturers like Da-Lite and Stewart offer exceptional quality in this category.
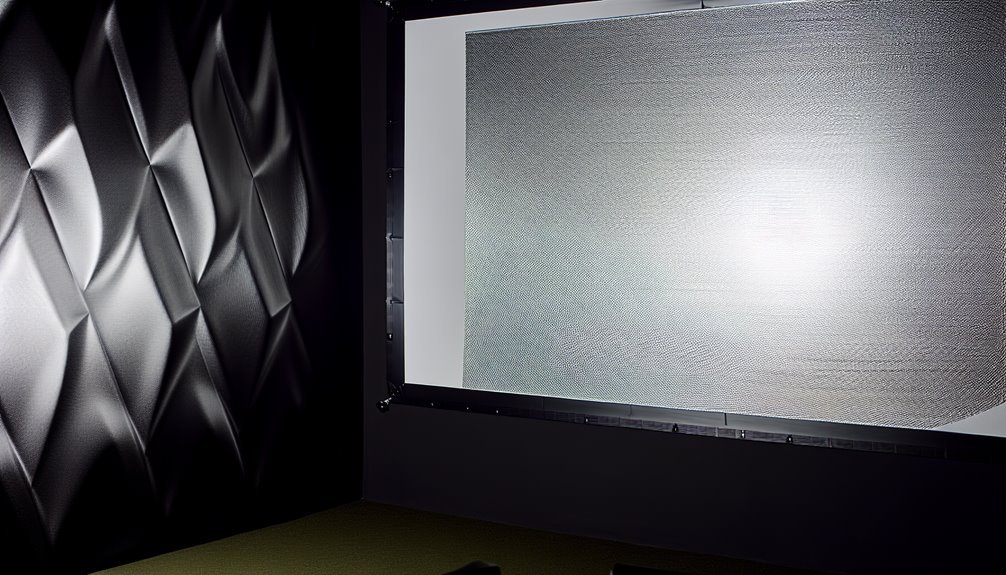
When it comes to screen materials, you've got choices that'll match your viewing environment. Matte white screens provide uniform brightness and wide viewing angles, ideal for controlled lighting.
Want to break free from light restrictions? ALR (Ambient Light Rejecting) screens let you enjoy vibrant images even in well-lit rooms, while CLR (Ceiling Light Rejecting) screens specifically tackle overhead lighting issues.
For those seeking enhanced contrast, matte gray screens can deliver deeper blacks, though they'll require more powerful projectors.
Your choice ultimately depends on your space's lighting conditions and how you'll use the screen. Each option reveals different possibilities for creating your perfect viewing experience.
Understanding ALR Screen Technology
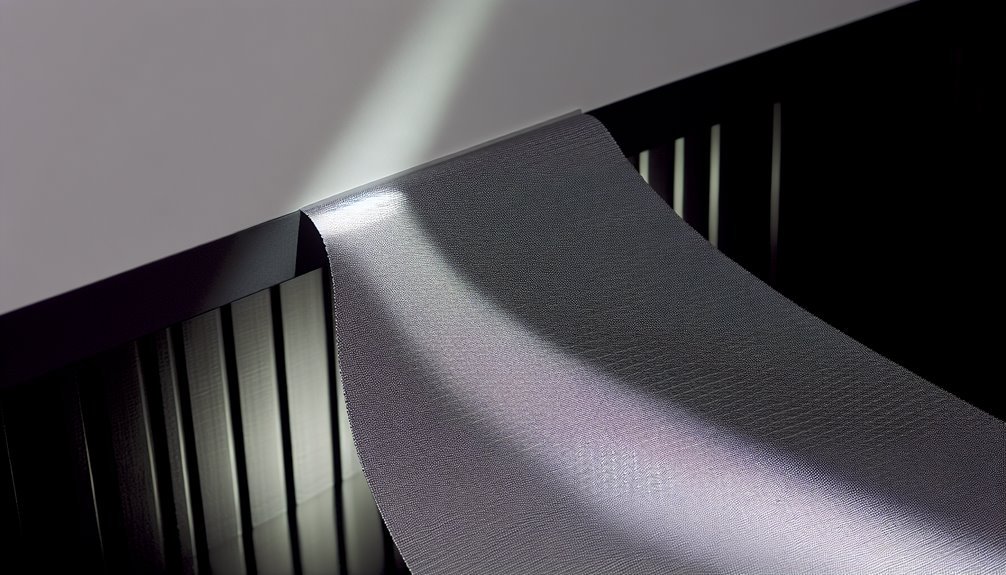
When it comes to bright rooms, ALR (Ambient Light Rejecting) screens offer a game-changing solution for your home cinema setup. These revolutionary screens can reject up to 95% of overhead lighting and 80% of side light sources, freeing you from the constraints of a completely dark viewing environment.
You'll be amazed by how ALR screens transform your viewing experience through advanced optical structures and micro-cirriform lens technology. They actively direct projected light toward viewers while absorbing ambient light, resulting in dramatically improved contrast and color fidelity. Professional settings require a minimum 15:1 contrast ratio for optimal viewing quality.
With viewing angles up to 170°, you won't be confined to a single sweet spot. Don't let your projector's performance be limited by room lighting. ALR screens can boost image quality by up to 80% compared to standard screens, making them compatible with both regular and ultra-short throw projectors.
Whether you're using a high-end or budget-friendly projector, an ALR screen will enhance its capabilities. With options ranging from $400 to $1,400, you'll find ALR screens that match your budget while delivering superior performance.
Leading brands like AWOL Vision, Formovie, and Elite Screens offer various technologies to suit your specific needs.
Selecting Your Perfect Screen
When you're choosing a screen for your home cinema, you'll need to evaluate both the screen type and material to achieve the best results.
Screen types include fixed-frame, motorized, and portable options, each offering different benefits for your specific setup and budget. Most modern home theater screens feature a 16:9 aspect ratio to perfectly match today's HD content.
The screen material you select will impact image quality greatly, with choices ranging from standard white matte surfaces to specialized ALR (ambient light rejecting) materials designed for challenging lighting conditions.
Screen Types Compared
Choosing the right projector screen can make or break your home cinema experience.
You'll discover four main types, each designed to meet specific needs and preferences. Fixed frame screens deliver unmatched image quality with their perfectly tensioned surface, making them ideal for dedicated home theaters where you won't need to move the screen. When selecting your screen size, consider that screen height guidelines recommend positioning viewers at three times the screen height for optimal viewing with 16:9 formats.
For multi-purpose rooms, motorized screens offer the freedom to transform your space at the touch of a button, though they'll require a higher investment.
If you're seeking maximum flexibility, portable screens provide the ultimate freedom to set up anywhere, while manual pull-down screens offer a practical middle ground between permanence and mobility.
Each type brings its own set of advantages to enhance your viewing experience.
- Fixed frame screens deliver premium image quality with zero compromises on performance
- Motorized screens disappear when not in use, perfect for maintaining your room's aesthetics
- Portable screens give you the freedom to create a theater anywhere you choose
- Manual pull-down screens balance quality with cost-effectiveness
- Your choice should align with your space, budget, and viewing habits
Understanding Screen Materials
The right screen material will elevate your home cinema setup beyond the basic screen type selection. You'll need to evaluate multiple factors to access your screen's full potential, from ambient light conditions to your projector's specifications.
In dark, dedicated theaters, a matte white screen with 1.1 gain offers excellent performance at an affordable price point. However, if you're dealing with ambient light, you'll want to break free from standard options and explore high contrast gray or ALR materials that combat wash-out effects and preserve deep blacks. Modern screens like the EPV DarkStar UST 2 can reject up to 85% of overhead lighting.
For those seeking audio excellence, acoustically transparent screens let you position speakers behind the screen, creating an immersive soundstage without compromising image quality.
If you've invested in a UST projector, specialized materials will reject light from above and sides, maintaining picture integrity.
Evaluate your room's specific challenges when selecting materials. Multi-layered and ALR screens offer superior performance in bright rooms but come at a premium.
Balance your budget against features like 3D compatibility, ambient light rejection, and maintenance requirements.
Installation and Setup Guide
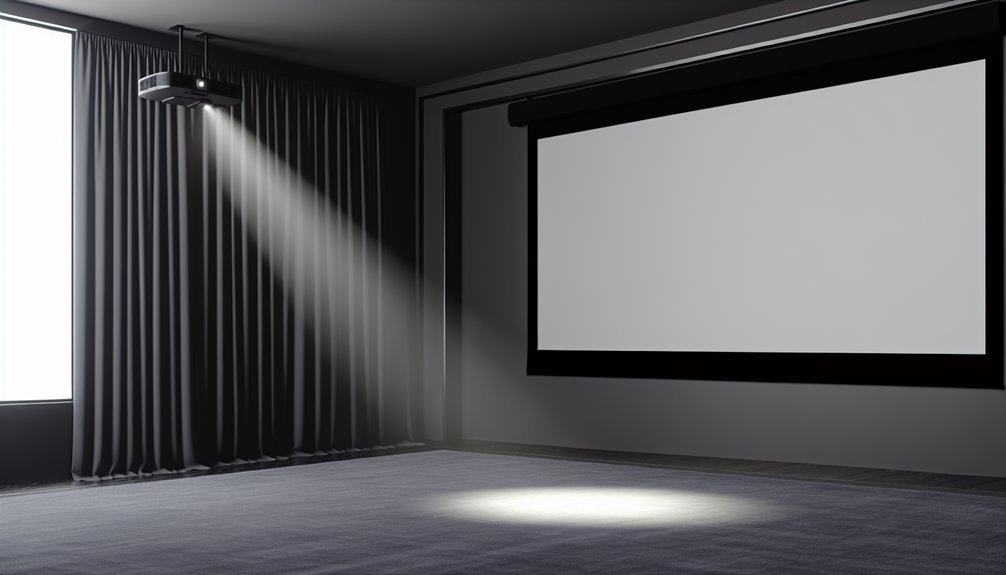
Before mounting your projector screen, you'll need to carefully plan the installation by measuring your space, marking mounting points, and gathering the necessary tools like a stud finder, level, drill, and appropriate mounting hardware.
You'll want to make certain you've got a helper on hand, as screens can be heavy and awkward to position while securing them to the wall or ceiling. Our screens like the OMS200H2PLUS model provide a portable folding-frame design that simplifies the setup process.
Following your screen manufacturer's mounting instructions step-by-step will help you achieve proper alignment and tension for the best possible viewing experience.
Pre-Installation Planning Steps
Proper pre-installation planning stands as the foundation for a successful home cinema screen setup.
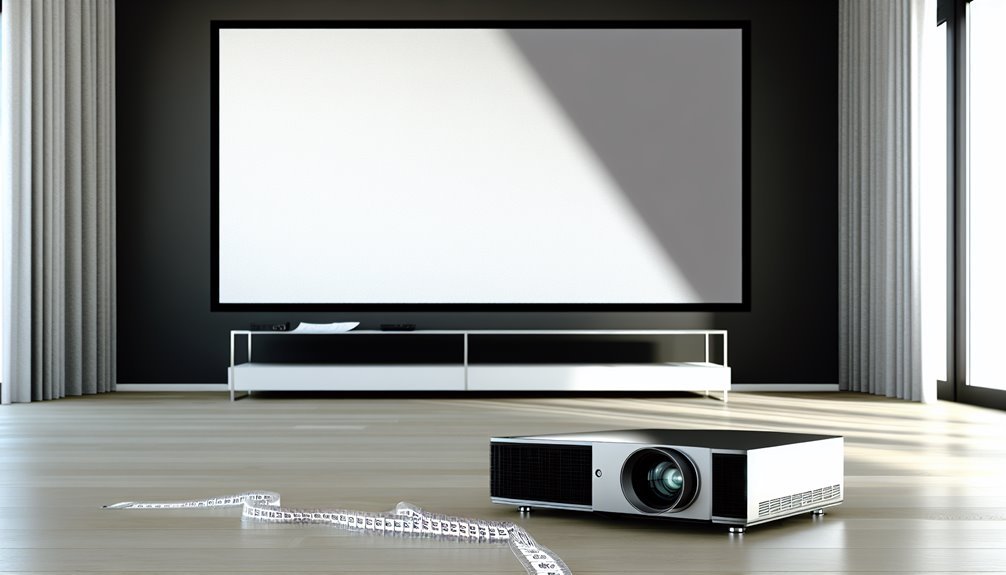
You'll want to start by carefully measuring your wall space and determining the best screen size that'll provide an immersive viewing experience. Consider your room's layout, lighting conditions, and seating arrangement to make sure every viewer gets the perfect angle. To prevent neck strain, ensure there's a 24-36 inch clearance between the floor and the bottom of your screen.
Before mounting your screen, you'll need to locate wall studs or ceiling joists using a stud finder, making certain your installation point can support the screen's weight.
Match your screen's aspect ratio with your projector's specifications to avoid any image distortion that could compromise your viewing experience.
- Map out precise wall measurements, including width, height, and depth, to determine ideal screen placement
- Calculate the best viewing height, keeping the screen's bottom edge at seated eye level
- Verify structural support points and select appropriate mounting hardware
- Check electrical access points for powered screens and control systems
- Test-fit your mounting brackets before final installation
Tools and Hardware Required
Successfully installing your home cinema screen requires a specific set of tools and hardware that'll vary based on your screen type and mounting surface. Break free from installation constraints by gathering essential tools: a reliable drill, sturdy screws, wall anchors, and a stud finder to guarantee secure mounting.
You'll need a level and measuring tape for precise positioning, along with a pencil for marking your mounting points. The aspect ratio selection will determine your exact measurement requirements.
For electric screens, you're looking at additional components like a motor control panel and specialized mounting brackets. Don't limit yourself – invest in heavy-duty anchors and toggle bolts if you're working with drywall without studs.
Tab-tensioned screens demand their own specific hardware, including tension systems for peak screen flatness.
Take control of your installation by choosing tools based on your unique setup. Consider your screen's weight and size when selecting anchors and brackets.
Your wall type matters – whether it's drywall, brick, or concrete, you'll need appropriate mounting hardware. For perfect alignment, a laser level can be your best ally, while L-brackets with sliding hooks offer flexibility in positioning your screen exactly where you want it.
Mounting Process Walkthrough
With your tools ready, let's start the mounting process step-by-step.
Don't forget to measure from the floor to determine your screen's ideal height, using a level to guarantee perfect alignment.
Next, drill pilot holes into the studs. If you can't find studs where you need them, don't worry – use heavy-duty wall anchors rated for your screen's weight.
Mount your brackets or mounting points, double-checking they're level before final tightening. Now you're ready to hang your screen, but don't do it alone – get a helper to support the weight while you secure it.
- Transform your space by guaranteeing precise measurements and marking before drilling
- Break free from imperfect viewing angles with proper leveling at every step
- Take control of your installation with strategic stud location and proper anchoring
- Release perfect positioning through careful height calculations
- Create your ideal viewing experience with methodical final adjustments and testing
Screen Materials and Performance
Selecting the right screen material stands as one of the most essential decisions you'll make when setting up a home cinema. Your choice will directly impact how free you're to enjoy movies in various lighting conditions and setups.
For those seeking versatility, High Contrast Gray screens release you from the constraints of perfect darkness, offering enhanced contrast and better ambient light rejection than traditional Matte White surfaces. The proper viewing distance should be calculated by dividing the distance from seating to screen by 1.2 to 1.6 for ideal sizing.
If you're breaking free from conventional speaker placement, Acoustically Transparent materials let you position speakers behind the screen without compromising sound quality.
You'll find that specialized materials cater to specific viewing experiences. Silver screens reveal the potential for passive 3D projection, while Fresnel screens deliver exceptional performance for dedicated indoor theaters.
For DIY enthusiasts wanting to break away from commercial options, materials like spandex and canvas offer creative freedom in customization.
Consider your environment's demands when choosing. Larger rooms may require materials that maintain image quality across wider viewing angles, while bright spaces need screens with superior light rejection capabilities.
Your projector type also influences this choice, as different materials optimize performance for LCD, DLP, or laser projectors.
Budget and Purchase Considerations
Making a smart investment in your home cinema starts with understanding projector screen costs, which typically range from $1,800 to $3,600 for high-quality options.
When planning your budget, you'll want to take into account whether a fixed frame or electric screen better suits your needs, as fixed frames generally offer more value for your investment. Advanced features like ALR technology will increase your costs but can greatly enhance viewing quality in rooms with ambient light. For the same budget, a high-end TV setup will typically deliver superior image quality compared to a projector system.
To maximize your investment and guarantee long-term satisfaction, focus on these essential purchasing factors:
- Choose a screen size between 100-150 inches for ideal viewing, based on your room dimensions
- Match your screen's capabilities with your projector's resolution (4K or 8K)
- Weigh the warranty coverage and support services offered by manufacturers
- Factor in the aspect ratio that suits your viewing preferences (16:9 for HDTV or 2.35:1 for cinema)
- Evaluate extra features like motorization or ALR technology based on your specific needs
Remember to research reputable brands like Elite Screens or EluneVision, which offer solid warranties and lifetime tech support, guaranteeing you're protected long after your purchase.
Maximizing Your Viewing Experience
Once you've made your screen purchase, the real artistry begins in enhancing your viewing setup. Break free from mediocre viewing by mastering your screen's positioning and ambient light control.
If you're using a fixed frame screen, mount it at the perfect height and distance based on THX guidelines – maintaining 12 feet for a 120-inch screen or 8 feet for a 100-inch screen to achieve ideal immersion.
Creating a true home theater environment transforms your space into an impressive entertainment destination. Don't let aspect ratios constrain your viewing pleasure. While 16:9 works perfectly for most content, you can elevate your experience with a 2.35:1 ratio for true cinematic viewing.
If you've invested in an anamorphic lens, you'll gain the ability to stretch your image perfectly across the screen, eliminating those frustrating black bars.
Take control of your room's lighting conditions by choosing the right screen material. If you're dealing with ambient light, opt for light-rejecting screens that maintain picture clarity even in well-lit spaces.
For the ultimate audio-visual liberation, consider an acoustically transparent screen that lets you position speakers behind it, creating a seamless entertainment center that delivers both stunning visuals and immersive sound.
Care and Long-Term Maintenance
A pristine projector screen is essential for maintaining ideal image quality and extending your investment's lifespan.
You'll want to establish a regular cleaning routine using compressed air as your first line of defense against dust buildup. When using compressed air, keep the can at least an inch away from the screen's surface to prevent damage. Wearing protective gloves helps prevent accidental scratches and oil transfer during maintenance.
For stubborn spots, a microfiber cloth is your best friend – use it dry for light cleaning or slightly dampened with a water-soap solution for tougher grime.
Different screen types demand specific care approaches. While matte white and woven screens can handle mild soap solutions, coated screens require dry cleaning methods only.
Don't let your screen become a dust magnet – regular maintenance every 3-6 months will prevent permanent damage and preserve your viewing experience.
- Keep hands off the screen to prevent oil transfer from skin contact
- Roll up retractable screens when not in use to protect the surface
- Address spills immediately to prevent permanent staining
- Use horizontal wiping motions on screens with linear structures
- Vacuum the screen's back periodically to eliminate dust accumulation
Frequently Asked Questions
Can Projector Screens Be Used With Gaming Consoles for an Immersive Experience?
Yes, you'll find projector screens work brilliantly with gaming consoles for an immersive experience.
You can enjoy massive screen sizes up to 150 inches, creating a truly cinematic gaming environment.
With modern gaming projectors offering low input lag, 4K resolution, and high refresh rates, you'll get responsive gameplay on a grand scale.
Just make sure you choose a projector with gaming-specific features for peak performance.
How Do Projector Screens Perform in Rooms With Cathedral or Vaulted Ceilings?
Want to transform your unique ceiling architecture into a cinematic advantage?
You'll find that projector screens can work exceptionally well in rooms with cathedral or vaulted ceilings, offering you expanded installation possibilities.
You'll need specialized mounting brackets and custom support systems to guarantee stability, but these ceiling types actually give you more flexibility for ideal screen positioning.
Just make sure you've got proper structural support and consider motorized options for easier control.
Will Screen Material Affect the Sound From Speakers Placed Behind It?
Yes, your screen material will affect sound from behind-screen speakers.
Perforated screens can reduce high frequencies by up to 10dB and create comb filtering issues, while woven screens have less impact, typically reducing frequencies by 3-6dB.
You'll need to place speakers at least 12 inches behind perforated screens to minimize sound distortion.
Choose woven screens for better acoustic transparency but be prepared for slightly lower brightness.
Do Projector Screens Attract Dust More Than Regular TV Screens?
Yes, your projector screen will attract more dust than a regular TV screen due to its fabric composition.
The textured surface of projector screens naturally traps more dust particles, while TV screens' smooth glass or plastic surfaces are less prone to accumulation.
You'll need to be more vigilant with cleaning your projector screen, but don't worry – regular maintenance with proper cleaning techniques will keep it in great shape.
Can Outdoor Projector Screens Withstand Light Rain or High Humidity?
Like a sturdy umbrella in a drizzle, most outdoor projector screens can handle light rain and humidity.
You'll find that many screens use water-resistant materials like 210D Oxford cloth and special coatings to protect against moisture.
However, don't leave your screen exposed to the elements long-term.
While brief exposure won't harm it, you'll want to store it indoors when not in use to maintain its quality.
Conclusion
While you might worry that a 120-inch screen could overwhelm your space, you'll find that proper planning makes it work even in modest rooms. With today's ALR technology and high-quality materials, you're not sacrificing image quality for size. By following proper installation, maintenance, and viewing guidelines, you'll create a truly immersive cinema experience that transforms your home entertainment for years to come.