Blog
Transform Any Space: DIY Tips for the Perfect Outdoor Projector Screen NZ Setup
You'll create an incredible outdoor cinema experience in your Kiwi backyard with the right DIY projector screen setup. Start by selecting weather-resistant materials like PVC or specialized ambient light-rejecting screens that'll handle New Zealand's variable conditions. Build a sturdy frame using PVC pipes or EMT conduit, securing it with proper anchoring against coastal winds. Add comfort with strategic seating and enhance the atmosphere using subtle lighting. Whether you choose a permanent installation or temporary solution, focus on screen tension and stability for ideal viewing. Let's explore how to transform your outdoor space into the ultimate movie destination.
Key Takeaways
- Select weather-resistant PVC or CineGrey materials specifically suited for New Zealand's variable climate conditions and outdoor viewing requirements.
- Build a sturdy frame using PVC pipes or EMT conduit, securing with T-joints and adding ground stakes for stability against coastal winds.
- Install proper weatherproofing measures and ensure a reliable power source that meets New Zealand's electrical standards and safety regulations.
- Create comfortable viewing areas with weather-resistant seating and strategic speaker placement while considering neighboring properties and noise ordinances.
- Choose between permanent installation with concrete-anchored posts or portable solutions like inflatable screens based on space and frequency of use.
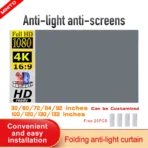
Screen Material Selection Guide
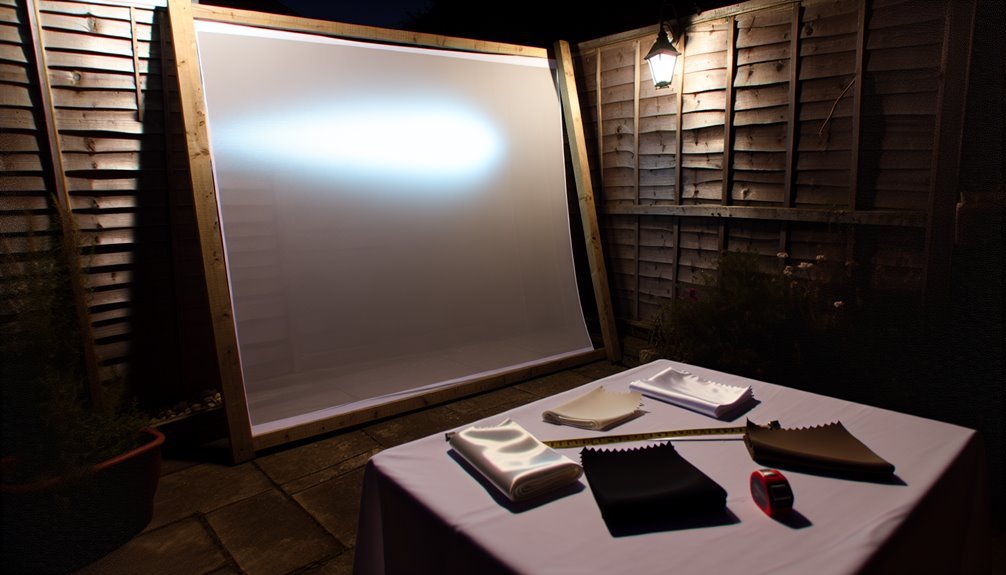
When setting up an outdoor projector screen, choosing the right material is essential for ideal viewing performance. You'll want to break free from indoor viewing limitations by selecting materials that can handle New Zealand's diverse weather conditions while delivering crisp, clear images.
For outdoor setups, PVC stands out as your most liberating choice. It's weather-resistant and durable enough to withstand unexpected rain showers and wind gusts. Regular cleaning with mild soap will help maintain optimal screen performance and longevity.
If you're working with a tight budget, vinyl offers a cost-effective alternative, though you'll need to be mindful of wrinkles and creases that can distract from your viewing experience.
Consider ambient light when selecting your screen material. CineGrey3D or CineGrey 5D materials will free you from the constraints of waiting until complete darkness, as they're specifically designed to reject ambient light.
For enhanced versatility, look for ISF-certified materials that guarantee professional-grade performance.
For maximum portability and freedom to set up anywhere, choose lightweight materials that are easy to transport and install. Weather-resistant polyester offers an excellent balance of durability and portability while maintaining superior color accuracy and contrast compared to vinyl options.
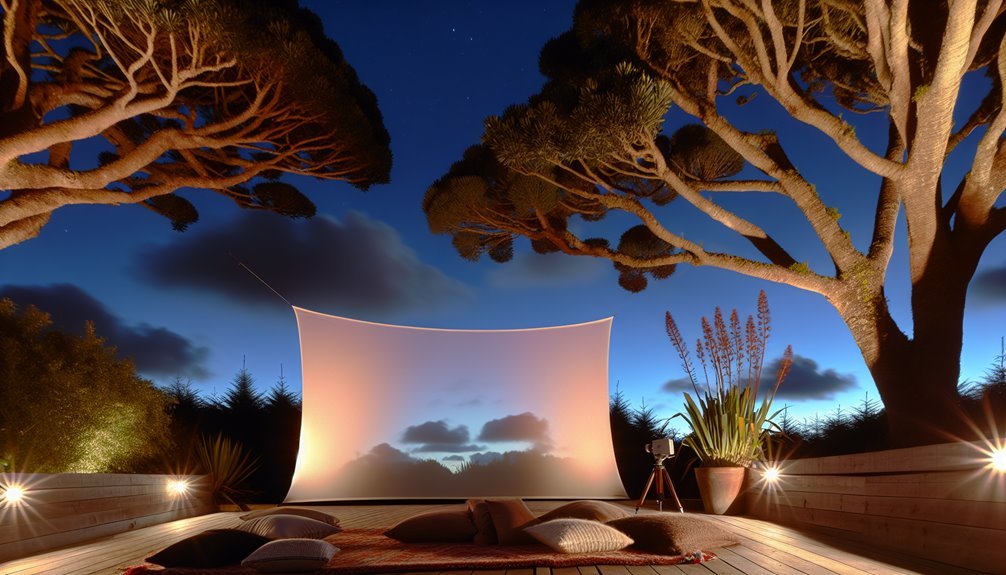
Building Your Outdoor Frame
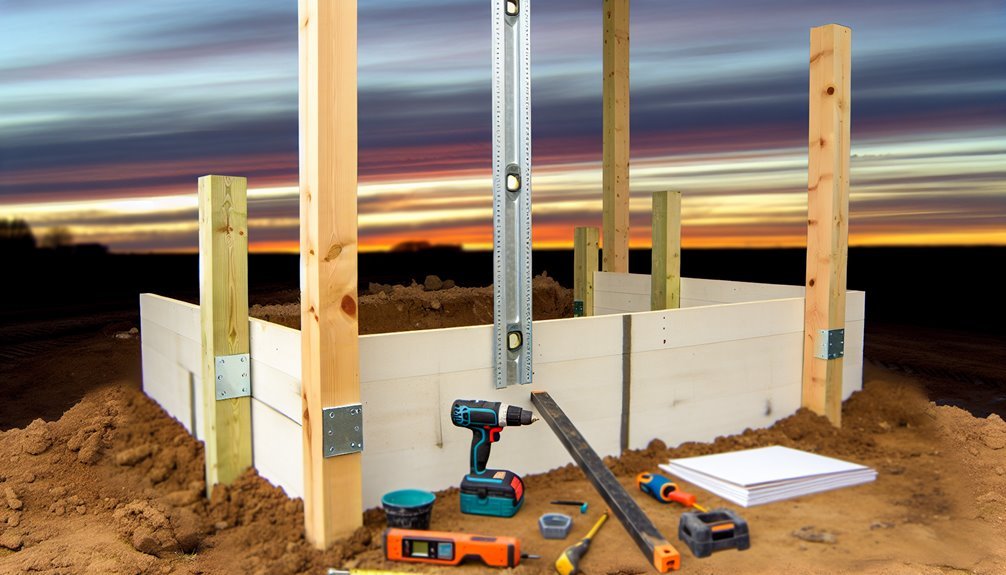
Every successful outdoor movie screen starts with a well-built frame. You'll want to break free from indoor constraints by creating a structure that's both sturdy and adaptable to your outdoor space. Start by measuring your screen dimensions and add a few extra inches to guarantee proper tension when stretched. Maker Pipe Clamps make assembling and disassembling your frame quick and simple.
Transform basic materials like PVC pipes or EMT conduit into your frame's foundation. Cut your pieces precisely using a pipe cutter or handsaw, then connect them using T-joints and elbows. Don't forget to secure each connection with PVC cement if you're using plastic pipes. Your frame should include stable legs or a robust base to stand independently.
Take control of your viewing experience by adding stability features. Install eyebolts for mounting points, and don't let weather dictate your movie nights – use sandbags or ground stakes to anchor your frame against wind.
Secure your screen to the frame using ball bungees or velcro straps, guaranteeing even tension across all sides.
Test your creation by setting up your projector at
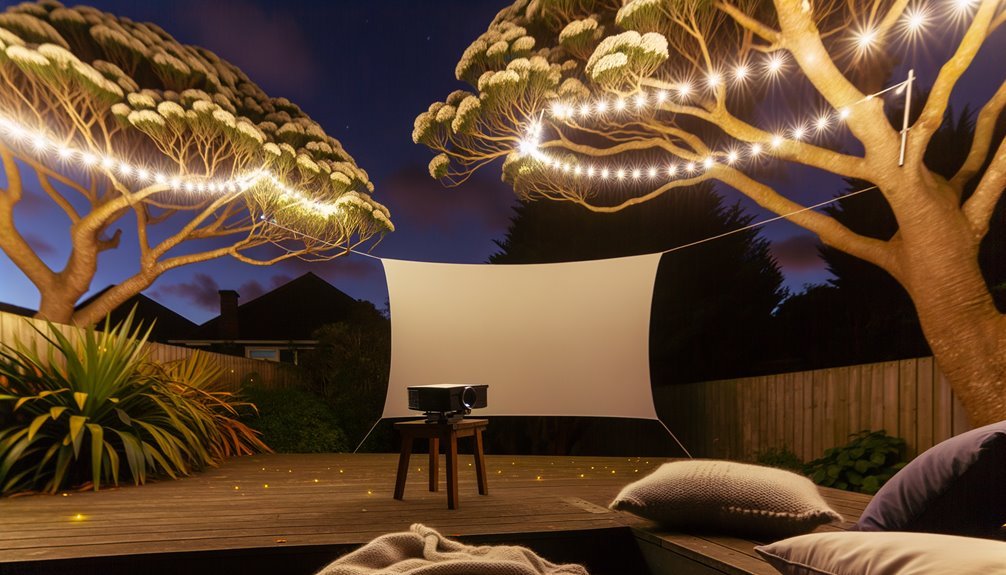
Setting Up Your Display
Three key factors determine the success of your outdoor display setup: screen selection, projector positioning, and proper mounting. For your screen, don't let conventional options limit you – explore LED screens, projector screens, or even specialized outdoor projector screen paint to match your vision.
Remember that a 3000-lumen projector won't cut it in daylight, so plan your setup accordingly. Consider that outdoor projector screens must be durable enough to withstand salt air corrosion for coastal locations.
Take control of your viewing experience by strategically positioning your projector. Measure the ideal distance for your desired screen size and secure it firmly to prevent any unwanted movement. You'll want to manage those cables too – nothing kills the vibe like tripping hazards.
Liberation comes in the mounting details. Install eyelets in your screen material for versatile hanging options, and don't skimp on measuring your space precisely. Mark your mounting positions clearly and install hooks securely.
For weather protection, consider weatherproofing measures and verify you've got reliable power nearby.
Before your first screening, test everything thoroughly. If you're planning daytime viewings, you might need to invest in higher-lumen equipment or specialized screens.
Add a sound system to create your perfect outdoor theater experience.
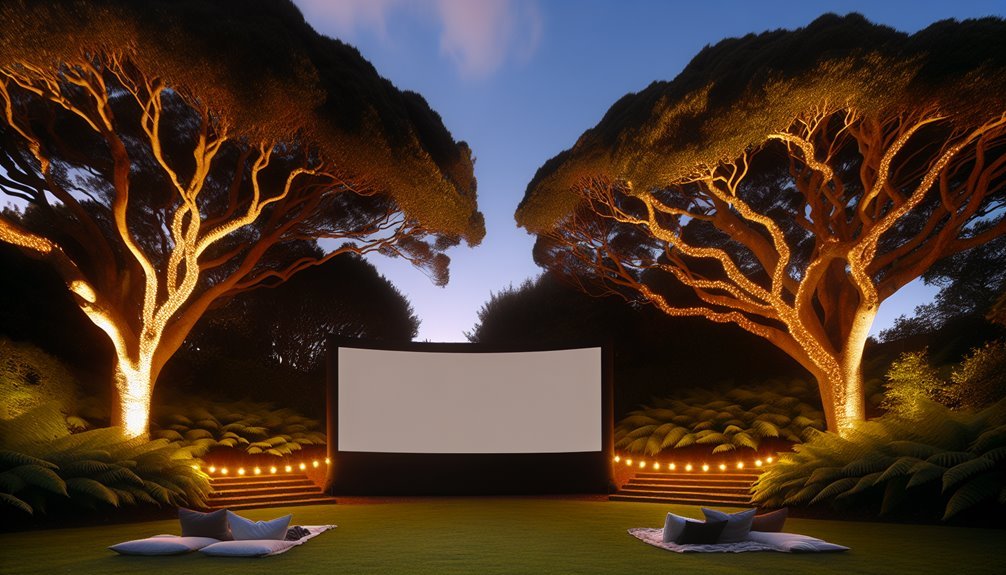
Creating Ambiance and Comfort
With your display setup complete, it's time to create a space that turns your backyard into an enchanting outdoor cinema.
Start by layering your lighting – wrap twinkly fairy lights around trees and furniture, install solar caps on posts, and hang string lights overhead. You'll want dimmable options to control the atmosphere once your movie begins. Using pressure treated posts ensures your lighting setup remains secure and weather-resistant.
Transform your seating area into a cozy haven by laying down outdoor rugs and arranging your furniture for ideal screen viewing.
Don't forget to add weather-resistant cushions and keep soft blankets handy for those cooler evenings. Your comfort is key to an immersive experience.
Position your weather-resistant speakers strategically around the seating area, or opt for a wireless setup for maximum flexibility.
A quality soundbar can dramatically enhance your audio experience, making every dialogue crystal clear.
Complete your outdoor theater's ambiance with thoughtful touches.
Add natural elements like potted plants or a subtle water feature.
Consider using decorative screens to block distractions and create intimacy.
Permanent Versus Temporary Solutions

Choosing between permanent and temporary outdoor screen setups depends largely on your viewing habits and available space. If you're committed to regular outdoor movie nights, investing in a permanent solution using hardwood posts or PVC frames anchored in cement-filled planters will give you lasting stability and convenience. A smooth matte finish on your screen surface helps minimize glare and enhance overall projection quality.
You'll want to focus on weather-resistant materials and proper ground anchoring to guarantee your setup withstands the elements.
For those seeking flexibility, temporary solutions offer freedom and adaptability. You can create a portable theater using inflatable screens, tripod stands, or simple white sheets secured with bungee cords. These options let you transform different outdoor spaces and pack everything away when you're done.
Whether you choose permanent or temporary, prioritize screen attachment security and image quality. Permanent setups benefit from specialized screen materials and solar light caps for ambiance, while temporary solutions work well with blackout cloth or high-quality sheets.
Consider your storage capabilities, maintenance requirements, and how often you'll use the setup. Don't forget about weight distribution and drainage if you're using planters, or quick-release mechanisms for temporary frames to make setup and takedown effortless.
Frequently Asked Questions
How Do You Protect the Projector From Rain During Unexpected Weather Changes?
When storm clouds roll in like uninvited guests, you'll want to act fast to protect your projector.
Start by having a waterproof cover ready for quick deployment, and elevate your projector on a stand to prevent water pooling.
You can create a DIY shield using tarps or plastic sheets, or invest in a permanent housing solution with proper drainage.
Don't forget to verify your projector's IP rating for outdoor use.
What Is the Ideal Distance Between Projector and Screen for Outdoor Viewing?
You'll need to multiply your screen width by your projector's throw ratio to find the ideal distance.
For a typical throw ratio of 1.5:1 and a 10-foot-wide screen, you'd want to place your projector 15 feet away.
Don't forget to check your projector's specifications, as some models, especially short-throw projectors, work differently.
You can fine-tune the position using the zoom and lens shift features.
Can Strong Winds Damage the Screen Material Over Time?
While gentle breezes won't harm your screen, strong winds can be devastating over time.
You'll notice gradual wear through repeated rippling and flapping, which weakens the material's structural integrity. Regular exposure to high winds can lead to permanent wrinkles, tears, and loss of surface tension.
To protect your investment, you'll want to take down your screen when winds exceed 8-10 mph and store it properly indoors.
How Do You Prevent Insects From Being Attracted to the Projector Light?
You can minimize insects around your projector by using yellow light bulbs in the surrounding area, as bugs are less drawn to yellow light.
Keep the projector's beam tightly focused, and position fans to create gentle air movement.
Try natural deterrents like citronella candles or insect-repelling plants.
For extra protection, set up insect netting around your viewing area and avoid sweet scents or food odors.
What's the Best Solution for Managing Audio Outdoors Without Disturbing Neighbors?
You know that feeling when you're trying to enjoy a movie outside, and you're worried about being "that neighbor"?
Don't stress! Start by positioning directional speakers at ground level, angled toward your viewing area.
You'll want to reduce bass frequencies and use wireless speakers for flexible placement.
Add some sound-dampening materials around the setup, and don't forget to run a quick sound check before your showtime begins.
Conclusion
Whether you're channeling your inner Spielberg or just want to recreate the drive-in magic of yesteryear, you've now got all the tools to create your perfect outdoor cinema. From choosing the right screen material to setting the mood, you'll transform your backyard into an entertainment oasis. Like Field of Dreams taught us – if you build it, they'll come. So start building your movie paradise tonight.